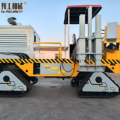
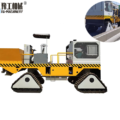
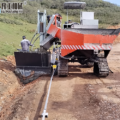
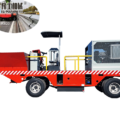
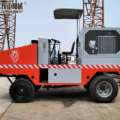
A concrete kerbing machine is the fastest way to build road curbs, sidewalks, parking lot borders, and drainage channels. But using one for the first time can feel overwhelming.
The machine has many parts. The concrete needs a specific mix. The speed must be right.
This guide walks you through your first time using a concrete kerbing machine. Step by step. No shortcuts. Just what you need to know to get it right.
Before getting started, explore our Curb and Gutter Machine for Sale page to compare available models.
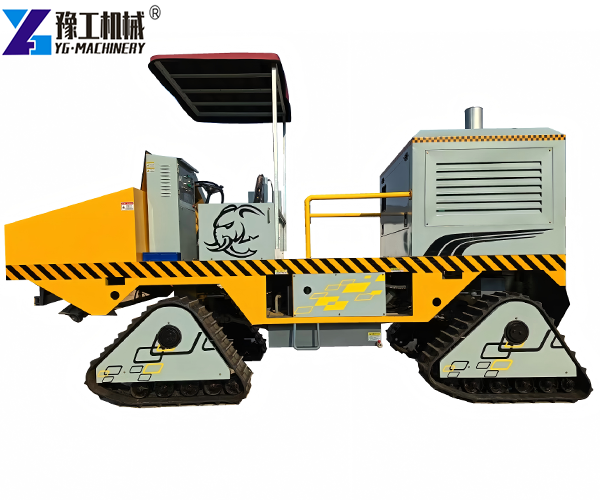
Ground Preparation for Curbing – Start with a Solid Base
Before you even start the machine, prepare the ground. This step decides if the curb is straight or crooked.
Clear the path – Remove rocks, debris, and loose dirt from the area where the curb will go.
Level the ground – The machine needs a flat, even surface. High spots make the curb too thin. Low spots make it too thick. Use a grader or rake to level.
Mark the line – Use a string line or chalk line to mark where the curb will go. This is your guide. The machine follows this line.
Set the string height – The string line should be at the height of the top of the curb. The machine’s sensor follows the string.
Compact the base – If the ground is soft, compact it. A stable base stops the machine from sinking and keeps the curb straight.
Good ground preparation for curbing means less adjustment during paving. The machine can follow the line without constant correction.
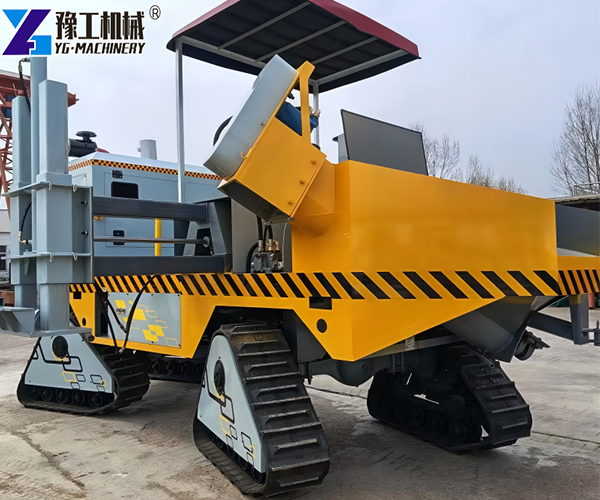
Concrete Kerbing Machine Safety and Pre-Start Check
Never start a heavy machine without checking it first.
Safety gear:
- Hard hat
- Safety glasses
- Steel toe boots
- Ear protection
- Gloves
Machine check before starting:
1.Check hydraulic oil – Low oil means weak steering and slow paving.
2.Check engine oil and fuel – The 65kw diesel engine needs clean oil and enough fuel.
3.Check all bolts – Machine vibration loosens bolts. Tighten them.
4.Check the mold – The mold should be clean and undamaged. Any damage shows up on the curb.
5.Check the vibration system – Make sure the high-frequency vibrator works. No vibration means weak concrete.
6.Check the steering system – Test the automatic steering. The machine should respond smoothly.
If any part fails the check, fix it before starting. A five-minute check saves hours of problems later. Follow concrete kerbing machine safety rules every time.
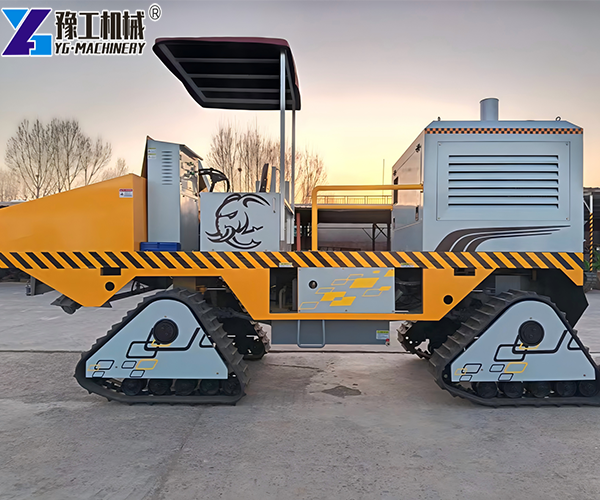
Concrete Mix for Curbing Machine – Get the Ratio Right
The concrete mix is the most important part of the whole job. Use the wrong mix, and the curb falls apart. Use the right mix, and the curb stays strong for years.
The key: low slump concrete
Slump is how wet the concrete is. Regular concrete has a high slump. It flows. But a curbing machine needs zero to low slump concrete. The curb must hold its shape immediately after forming.
Recommended mix ratio:
- Cement: 1 part
- Sand: 2 parts
- Aggregate (stone): 3 parts
- Water: as little as possible
Zero slump concrete for curbing is dry. It looks like damp dirt. When you squeeze a handful, it holds together but no water comes out.
What happens if the mix is too wet:
- The curb slumps and loses shape
- The machine struggles to push it through
- The finished curb cracks as it dries
What happens if the mix is too dry:
- The machine cannot push it through
- The curb has voids and weak spots
Tip: Start with a dry mix. Add water slowly until it just holds together. You want the concrete mix for curbing machine to feel like damp sand.
The machine uses a screw feeder to push concrete into the mold. Dry concrete moves through the screw without sticking. Wet concrete sticks and clogs.
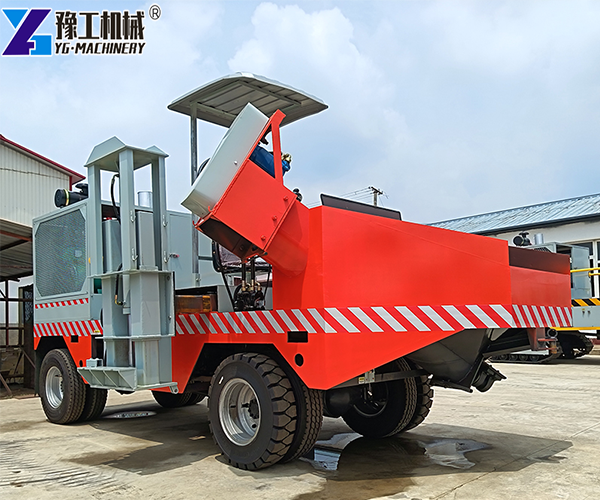
How to Use a Concrete Kerbing Machine – Step by Step
Here is the complete concrete kerbing machine operation process.
Step 1: Set up the machine
Position the machine at the start of the curb line. Lower the mold to the ground. The mold should touch the ground evenly.
Step 2: Load the hopper
Fill the hopper with the dry concrete mix. Do not overfill. The hopper holds 1 cubic meter.
Step 3: Start the machine
Start the engine. Engage the vibration system. The high-frequency vibrator compacts the concrete as it forms.
Step 4: Start paving
Engage the drive system. The machine moves forward slowly. Concrete feeds from the hopper into the mold. The mold shapes the curb. The vibrator compacts it.
Step 5: Adjust as needed
Watch the curb as it comes out. If it is too low, raise the mold. If it is too wide, adjust the mold. The machine’s automatic leveling system helps keep things consistent.
Step 6: Keep concrete flowing
Keep the hopper at least half full. An empty hopper means the curb stops. The concrete dries in the mold. That is a bad day.
Step 7: Stop at the end
When you reach the end of the curb, stop the drive system. Stop the vibration. Lift the mold. Move the machine away.
The curb is formed in one continuous piece. No joints. No gaps. Just a smooth, straight curb.
For machines designed for continuous slipform paving, see our Slipform Curb Machine for Sale .
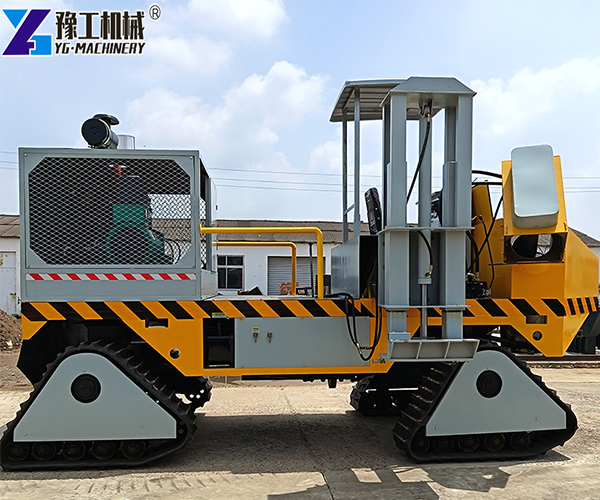
Curb Machine Paving Speed – Don’t Go Too Fast
Paving speed is the hardest thing for beginners to get right. The natural instinct is to go fast. That is a mistake.
- The YG-20 Concrete Curb Machine offers an adjustable paving speed of 1-7 m/min
- The YG-30 Concrete Edging Machine reaches up to 10 m/min
For your first time, start at the lowest speed.
- Start at 1 meter per minute
- Watch the curb come out
- Check the shape and compaction
- Adjust speed gradually
Why speed matters:
Too fast, and the concrete does not compact. The curb crumbles. The shape is weak. You have to tear it out and redo it.
Too slow, and the concrete dries in the mold. It jams. You have to stop and clean everything out.
The right speed:
- The concrete flows smoothly through the mold
- The curb holds its shape immediately
- No vibration marks on the surface
Consistent curbing pace is better than fast speed. A steady 3 m/min is better than 7 m/min with stops and starts.
Tip: Keep the paving speed the same throughout. Do not speed up and slow down. The curb should be uniform from start to finish.
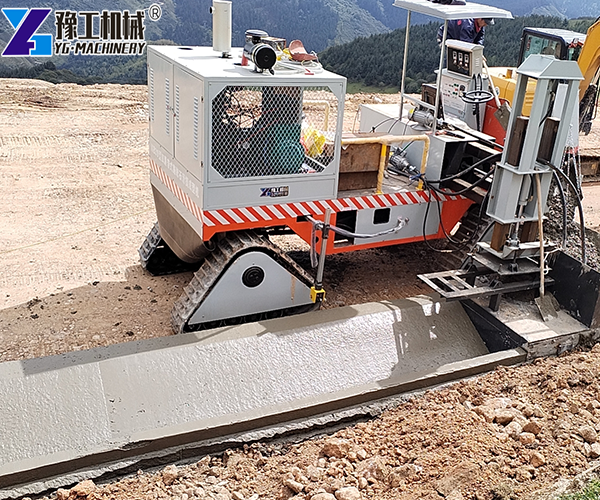
Common Mistakes When Using a Concrete Kerbing Machine
Every beginner makes these mistakes. Here is how to avoid them.
Mistake 1: Using the wrong concrete mix
The mix is too wet. The curb slumps. The shape is wrong. The machine struggles.
Fix: Keep it dry. Zero slump concrete for curbing is the right mix. Remember, it should look like damp dirt, not soup.
Mistake 2: Going too fast
The concrete does not compact. The curb is weak. It crumbles when touched.
Fix: Start slow. 1 meter per minute. Increase only when the curb looks good.
Mistake 3: Not checking the string line
The string line moves. The machine follows it. The curb goes crooked.
Fix: Check the string line every few meters. Tighten it if it sags. Keep it straight.
Mistake 4: Ignoring the vibration
Vibration stops working. The concrete is not compacted. The curb falls apart.
Fix: Check the vibrator before starting. Listen for it during paving. If you do not hear it, stop.
Mistake 5: Letting the hopper run empty
The concrete stops. It dries in the mold. The machine jams.
Fix: Keep the hopper at least half full. Always have more concrete ready.
Mistake 6: Poor ground preparation
The ground is uneven. The machine rocks. The curb is wavy.
Fix: Prepare the ground properly. Level it. Compact it. Mark the line clearly.
A concrete kerbing machine does the work. But you have to prepare correctly.
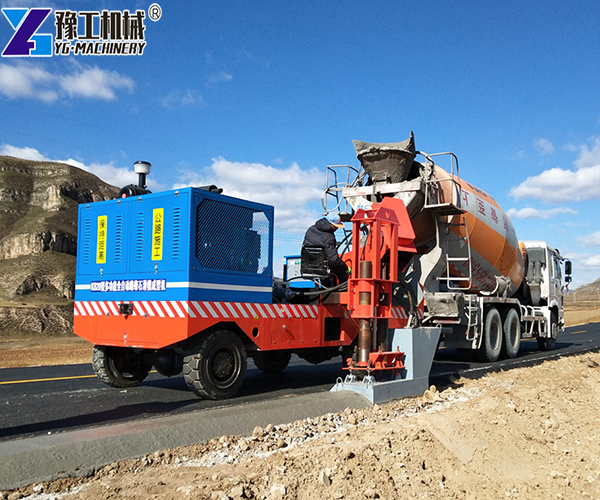
Concrete Curb Machine Maintenance – Clean and Store
After the job is done, clean the machine. This keeps it working for years.
Clean immediately after use:
- Wash the mold with water before concrete hardens
- Clean the hopper and screw feeder
- Hose off the exterior
- Use tools to scrape off dried concrete
Daily maintenance:
- Check hydraulic oil level
- Grease all fittings
- Check bolts for tightness
- Inspect the mold for damage
Weekly maintenance:
- Check the vibration system
- Inspect steering components
- Check the track or wheel tension
- Change engine oil if needed
Storage:
- Store the machine indoors if possible
- Cover it if stored outside
- Drain water from the system if freezing temperatures are expected
Curb machine maintenance is simple but important. A clean machine lasts longer. A well-maintained machine is ready for the next job.
The curb paving machine is a big investment. Take care of it, and it lasts 10+ years.
See how the machine performed in real-world conditions in our Concrete Kerbing Machine for Saudi Arabia customer case.
Related Reading
Want to know whether a slipform machine is worth the investment? Read our Slipform Curb Machine vs Manual Curb Construction comparison.